
Before testing you can amend student details in the Assessment Centre Candidate Editor.
To access the Candidate Editor go to Assessment Admin > Computer Assessments then select 2: Upload Student Details inc. Subject Choices. This takes you to the Select Assessments page.
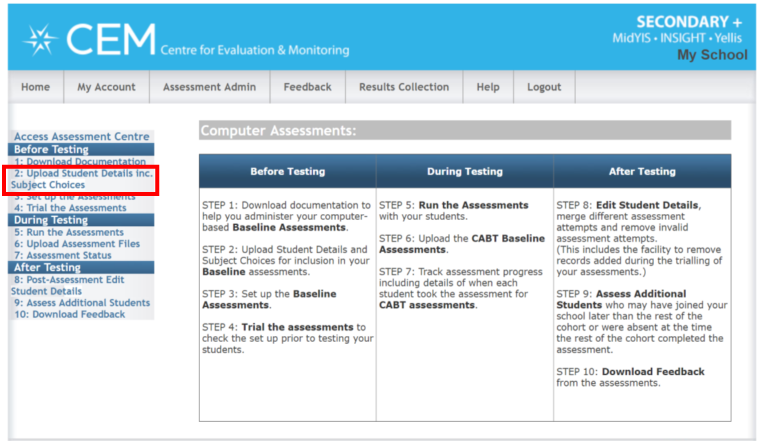
Select the relevant CABT year and click OK.

This will take you through to the Assessments Centre, from here select candidate editor.

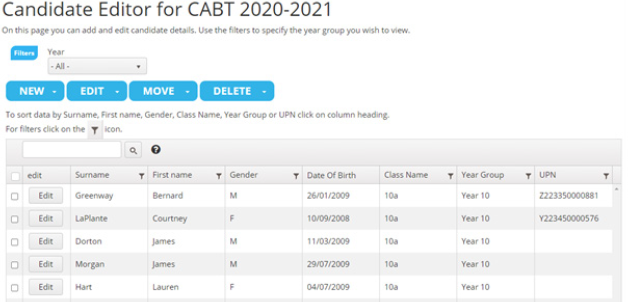
The Candidate Editor allows you to:
- Add a new Candidate or Class using the NEW button.
- Change an individual student’s details using the EDIT button (including subject choices)
- Move a student or group of students to a different year group using the MOVE button.
- Remove a Candidate or Class from the system or delete a class name using the DELETE button.
Add a New student
To add an additional student click on the NEW button on the Candidate Editor page and select Candidate from the drop down menu.
Select the year group for the candidate you wish to add by clicking on the drop-down menu displaying the year groups you have registered, then click OK.
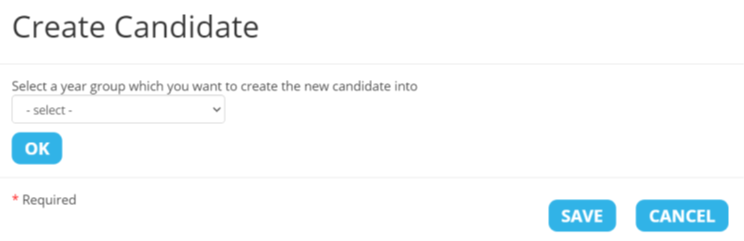
This takes you to the second Create Candidate page:
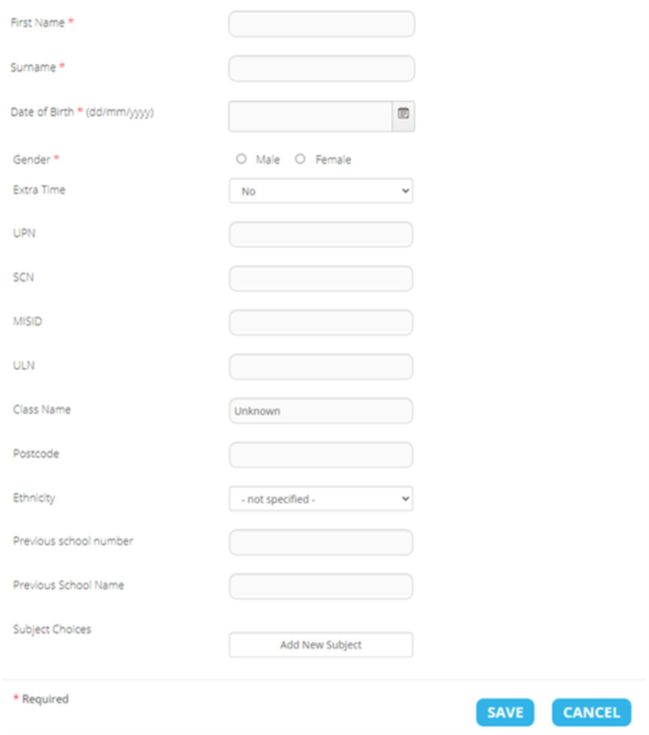
Type the details of the student directly into the boxes. When you have finished, click SAVE. The new student’s details should now appear on the Candidate Editor screen.
Edit an existing student
On the Candidate Editor page select the student you wish to Edit by clicking on the appropriate check box.

Click the EDIT button to open the Edit Candidate page.

Edit the student’s details by typing directly into the appropriate boxes. When you have finished click SAVE.
Please Note: 25% extra time may be added via the Candidate Editor for students with special educational needs. However, extra time cannot be added retrospectively once a student has a completed assessment. You can also add 25% extra time as part of your original CSV upload.
You will also see option to remove (if existing subject choices have been uploaded) or Add New Subject.
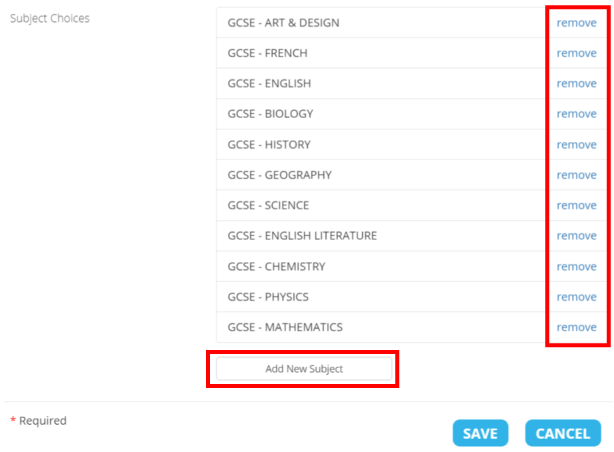
To delete a subject choice click remove.
To add a new subject, click the Add New Subject box.
Select the qualification from the- select qualification -drop-down box. Then choose the subject from the- select subject -dropdown box.
Click Save next to the subject drop-down box to add the chosen qualification and subject.
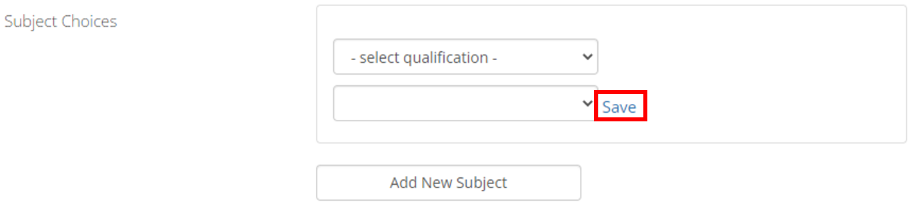
This will now appear in the students’ Subject Choices list.
Remember to click SAVE at the bottom of the page to save any amendments you have made.
Move students to a different year group
Please note this cannot be used if the student has a completed CABT result.
On the Candidate Editor page select the student(s) you wish to move by clicking on the appropriate check boxes.

Click the MOVE button and then select Year Group. This opens the Move Year Group page.
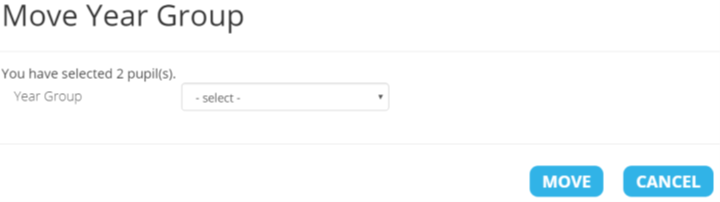
Select the Year Group from the drop-down menu you wish to move the student(s) to and click MOVE.
Delete Students
If you need to delete one or more student(s), this can be done via the Candidate Editor. First select the student(s) you wish to delete by clicking on the appropriate check boxes.

Click the DELETE button.
You will then be asked to confirm the students to be deleted.
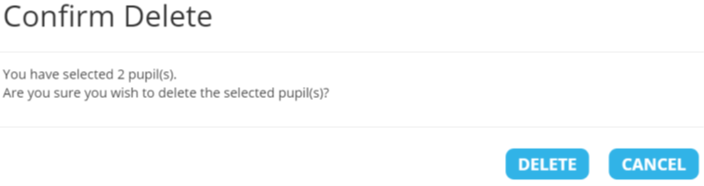
If you are sure you have selected the right students(s) then click DELETE, otherwise click CANCEL and check before proceeding.
You will receive a green confirmation message on the screen once the student has been successfully deleted.
Students with completed computer adaptive baseline test (CABT) results attached should not be deleted unless you wish to completely and permanently remove these students from your data.
If you are deleting a duplicate student record, DO NOT DELETE THE RECORD WITH CABT DATA ATTACHED. A warning message will appear with the name of the student if you are trying to delete a record with a completed CABT attached. If you have duplicate students with CABTs attached to both records, you will need to decide which record you wish to keep and delete the other one, ignoring the warning message.
Comments
0 comments
Article is closed for comments.